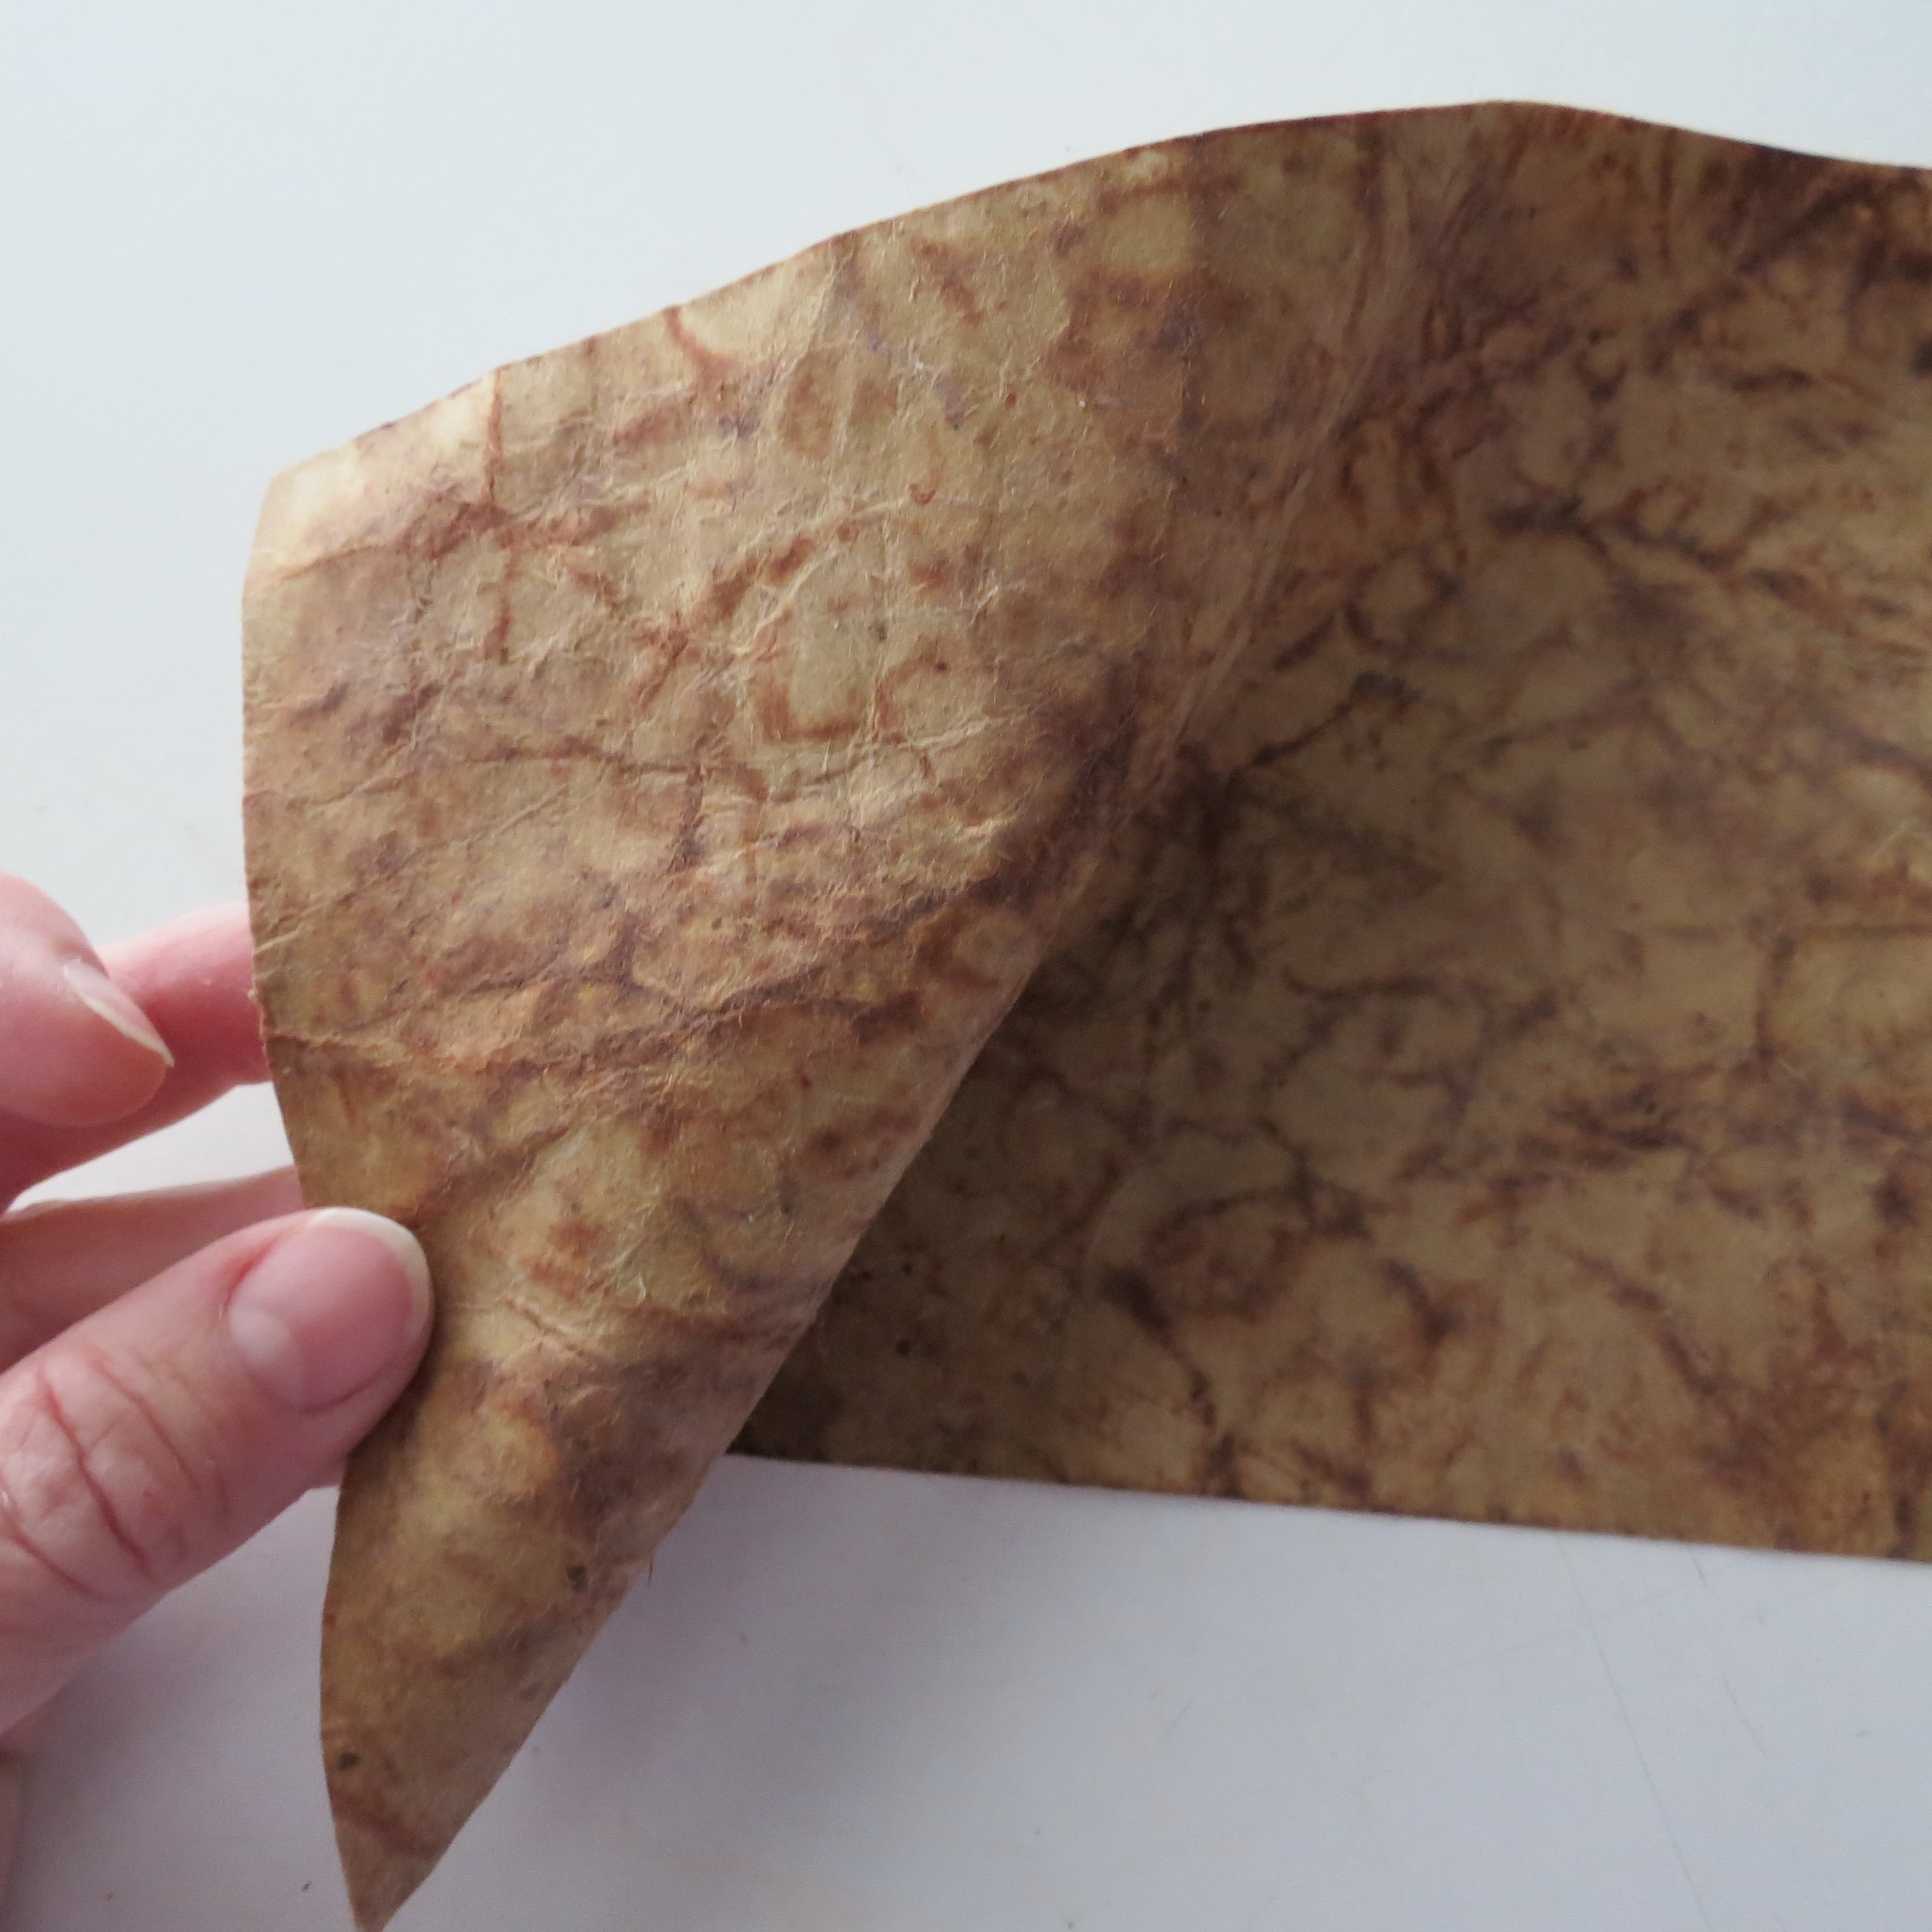
How to Give Used Paper Bags a Leather Appearance

Paper bags are great for arts and crafts, and you can even change their appearance to make them look like leather. This makes for a more interesting book cover, a cool way to cover furniture, or just a fun project to complete with the kids. All you’ll need is some PVA glue – the kind you probably used in school – some brown paper bags, a paint brush, and a paint or varnish of the appropriate colour.
Start by tearing your paper into smaller bits. Don’t go too small, though – about the same area of a DVD case is perfect. Just remember to tear instead of using scissors since you are going to need irregular borders for added authenticity. Now that your paper is torn, crumble it into tight balls, taking care to ensure that there are plenty of wrinkles. You can now flatten them out and place them to one side.
Use a small plastic container to mix one part PVA glue with 2-3 parts water. You want it to be easy to spread across surfaces, but not too watery. Take a prepared surface – something which you don’t need to keep very clean – and brush a layer of the mixture onto it. Make sure you don’t use a slick or glossy surface since the glue will not be able to adhere.
You can now lay one of the pieces of paper onto the surface, then brush the top of it down with the same mixture. Don’t saturate it, and be careful not to brush too hard all you’ll remove the wrinkles and possibly create holes or rips. Once the first piece is done, use another to slightly overlap it, and then brush that one down too. Continue until all the paper has been used.
Your project is now ready to dry, so take the time to clean everything up. Once dry, it will have the same rough appearance as leather – all you need to do is apply the varnish or paint to achieve the look which you’re going for. There you have it – turning paper into leather is a lot easier than you thought.


